Embroidery Digitizing Explained: How Artwork Becomes a Production-Ready Stitch File
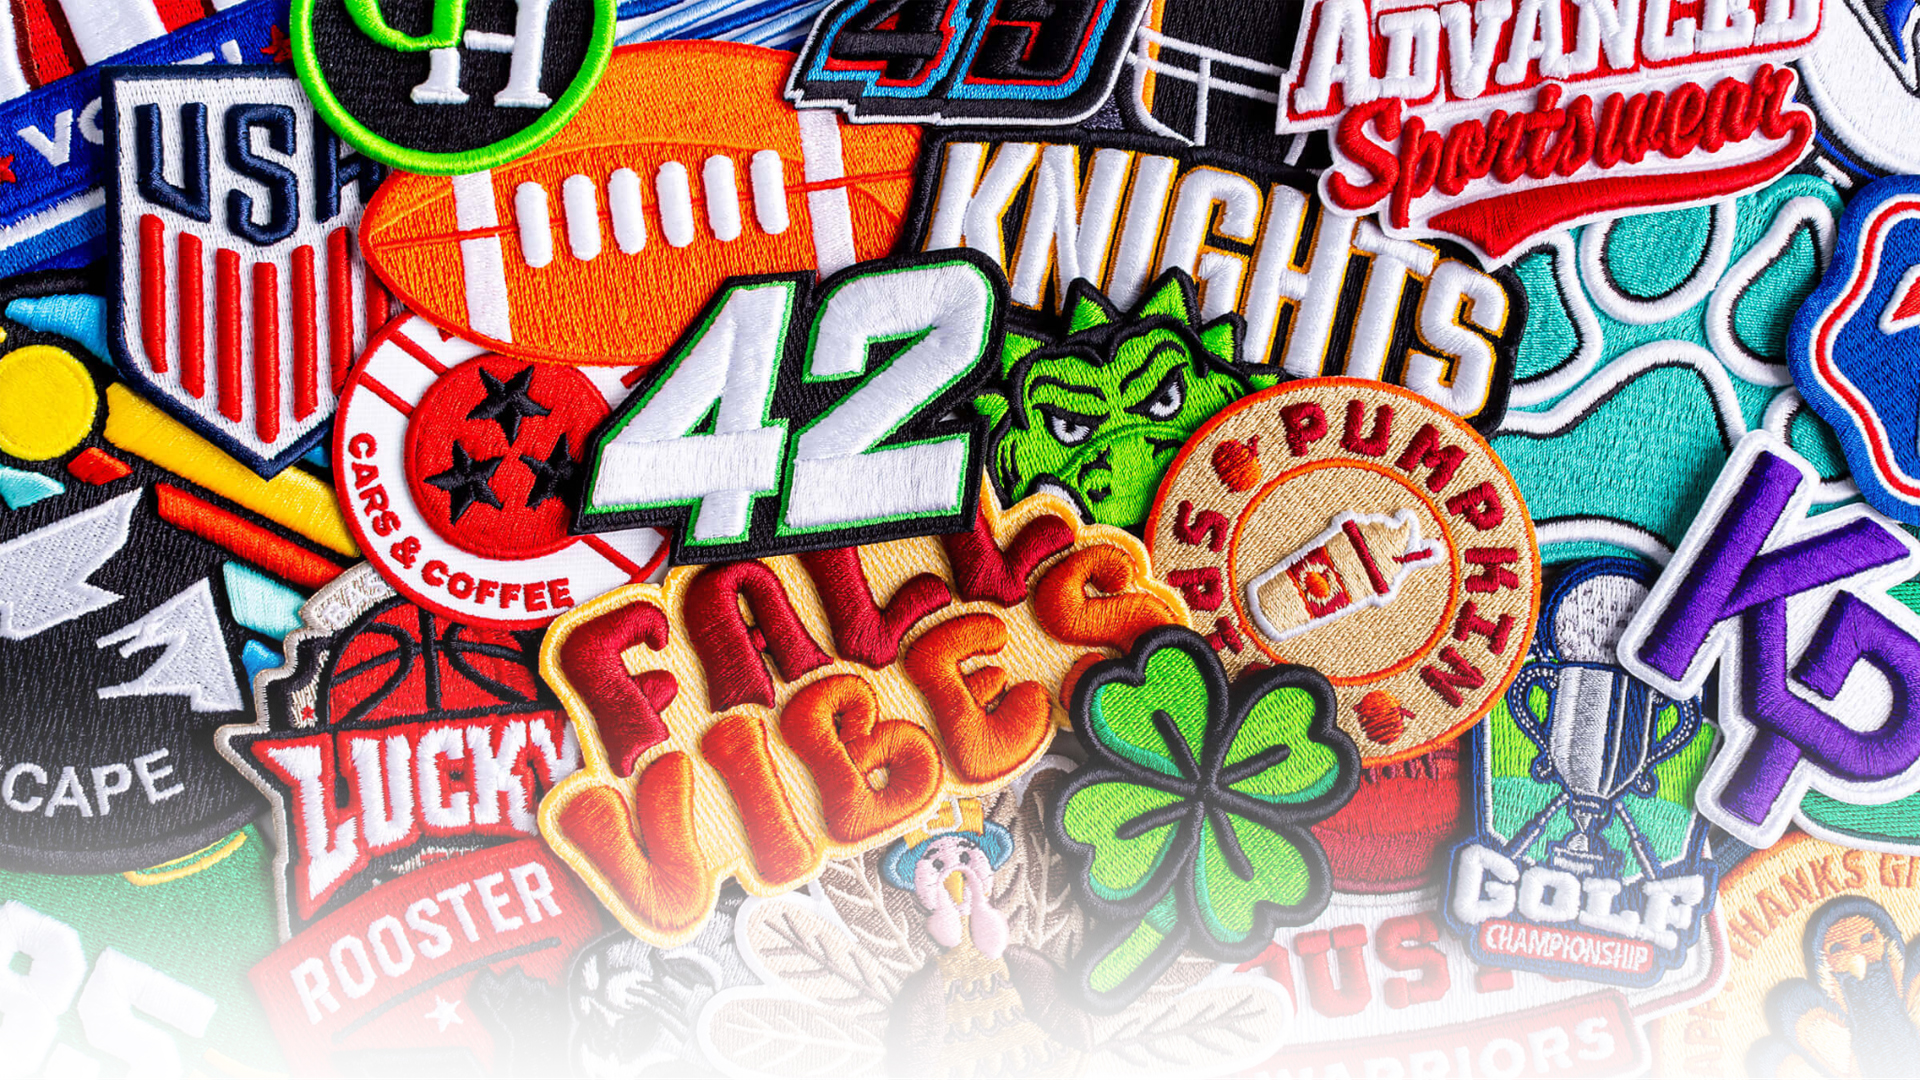
Every embroidered logo you’ve ever admired started life as a flat image — a JPEG from a marketing department, a hand sketch, a decades-old letterhead. Between that image and the moment a machine stitches it perfectly onto a polo lies a craft most people never see: embroidery digitizing. This guide walks through exactly what happens inside that process, why it can’t be automated well, and how to judge whether a digitized file is actually production-ready before it costs you blanks, thread, and machine hours.
What Is Embroidery Digitizing, Really?
Embroidery digitizing is the process of converting artwork into a stitch file — a set of machine instructions that tells an embroidery machine where to place every single stitch, in what order, at what angle, and with which thread color. It is not a file conversion. Software cannot “save as” a JPEG into a stitch file any more than a printer can output a sculpture.
A digitizer makes hundreds of decisions per design: which areas become satin stitches and which become fills, where the needle should travel between elements, how the fabric will react when 5,000 needle penetrations pull at its weave. Two digitizers given the same logo will produce files that look similar on screen and behave completely differently on the machine.
A stitch file isn’t an image of your logo. It’s a choreography — thousands of needle movements planned in sequence, tuned to a specific fabric.
The Building Blocks: Stitch Types
Nearly every embroidered design is built from three stitch families:
- Run stitches — single lines of stitching used for fine details, outlines, and travel paths. Think of them as the pencil lines of embroidery.
- Satin stitches — tight zig-zag columns that create the smooth, glossy look of lettering and borders. Satin works beautifully between roughly 2mm and 10mm wide; beyond that, stitches snag and sag.
- Fill stitches (tatami) — rows of stitching that cover large areas. Fill direction, density, and pattern determine whether a large shape looks flat and industrial or rich and textured.
Choosing the right type for each element — and the right parameters within each type — is the first layer of digitizing skill.
The Invisible Layer: Underlay
Under every good embroidery design sits stitching you’ll never see. Underlay is a foundation layer that stabilizes the fabric, raises the top stitching off the material, and stops the design from sinking into fleece or piqué knit.
What underlay does
- Anchors the fabric to the backing so the design doesn’t shift mid-run
- Creates loft, so satin stitches sit proud of the surface instead of drowning in it
- Prevents fabric show-through on low-density fills
Skipped or wrong underlay is the single most common failure in cheap digitizing. The design looks fine in the software preview — then stitches out ragged on an actual garment.
Density, Compensation, and Why Fabric Fights Back
Fabric is not paper. Every stitch pulls it inward; every dense area pushes it outward. Digitizers manage this with two tools:
Stitch density
Density is the spacing between stitches. Too dense, and the design becomes a bulletproof plate that breaks needles and puckers the garment. Too sparse, and fabric peeks through. The right density depends on the fabric, the thread, and even the design’s size — and it’s different for a cap front than for a silk-blend polo.
Pull compensation
Because stitches pull fabric inward, a perfect circle digitized naively will stitch out as an oval. Pull compensation deliberately overdraws shapes in the direction of distortion so that the stitched result — not the on-screen preview — is geometrically true. This is why experienced digitizers think in thread, not pixels.
Rule of thumb: if a digitizing provider never asks what fabric you’re stitching on, they’re not compensating for it. Expect puckering, gapping, or misregistration on anything other than stable woven cotton.
Stitch Sequence: The Hidden Time and Quality Factor
The order in which elements stitch matters enormously. A well-sequenced file:
- Minimizes trims and color changes, cutting run time per garment
- Travels between elements along paths that later stitching will cover
- Stitches from the center outward on caps, and bottom-up on structured designs, so fabric distortion is pushed outward rather than trapped
- Layers elements so outlines land last, exactly where they belong on the already-distorted fabric
On a 10,000-piece run, a file that saves 40 seconds per garment saves over 110 machine-hours. Sequencing is where digitizing quality becomes a line item on your P&L.
Why Machine Testing Changes Everything
Digitizing software renders an idealized preview on an idealized fabric that doesn’t exist. The only way to know how a file truly behaves is to stitch it out. That’s why every file we deliver at Stitch To Art is run on a real embroidery machine before delivery — checking for thread breaks, density issues, registration drift, and small-text legibility, then refining and re-testing until the stitch-out is clean.
A machine-tested file means your first production run is your first good production run. No sampling losses, no surprise stoppages, no awkward client calls.
How to Evaluate a Digitized File Before You Run It
- Check the stitch count against the size. A 4-inch left chest logo over ~12,000 stitches deserves scrutiny — it may be over-densified.
- Look at small lettering. Anything under 4mm tall in satin stitch is a legibility risk; a good digitizer will have warned you.
- Ask for a stitch-out photo. Not a software render — a photograph of thread on fabric.
- Count the trims. Excessive trims signal lazy pathing and slow production.
- Request your machine’s native format plus the editable master, so future edits don’t start from scratch.
Fabric Changes Everything: A Quick Field Guide
The same logo needs different digitizing on different garments. This is the knowledge auto-digitizing simply doesn’t have:
Piqué knit (polos)
The waffle texture swallows thin elements and lets designs sink. It needs firm edge-walk plus zig-zag underlay, slightly heavier satin columns, and a touch more pull compensation than flat wovens. Small text suffers most here — 4.5mm is a safer floor than 4mm.
Fleece and heavyweight hoodies
Loft is the enemy. Without a stabilizing mesh underlay — sometimes a full lattice — stitches disappear into the nap. Designs digitized for fleece often add a “knockdown” understitch layer that flattens fibers before the real design begins.
Performance polyester
Lightweight, stretchy, and heat-sensitive. It demands reduced density, careful tension planning, and restraint: a 12,000-stitch logo that sits beautifully on cotton twill will pucker a technical tee into a potato chip. Often the right answer is a slightly simplified logo variant for performance garments.
Structured caps
Curved, seamed, and hooped under tension. Cap files stitch center-out, bottom-up, with sequencing that pushes distortion toward the edges. A flat-garment file run on a cap front is the classic cause of wandering outlines.
Leather, canvas, and specialty surfaces
Dense materials hold detail beautifully but never forgive: every needle hole is permanent, so there are no second chances on registration. Longer stitch lengths and lower densities prevent perforation tearing — and machine testing stops being optional entirely.
Inside a Professional Digitizing Workflow
Here’s what actually happens to your artwork at Stitch To Art between upload and delivery:
- 1. Artwork review. We assess detail sizes, gradients, and text against your target dimensions and fabric, and flag anything that needs adaptation — before work begins, not after.
- 2. Redraw and planning. The design is rebuilt as stitch objects: every element assigned a stitch type, angle, and layer order. This is design work, not conversion.
- 3. Parameter tuning. Density, underlay, pull compensation, and tie-offs set for your specific fabric and garment construction.
- 4. Machine stitch-out. The file runs on a real machine, on comparable fabric. We photograph the result.
- 5. Refinement. Whatever the stitch-out reveals — a gap, a heavy corner, a sluggish sequence — gets corrected, and critical fixes are re-tested.
- 6. Delivery. Your machine’s native format, DST backup, the editable master, a color sequence sheet, and the stitch-out photo.
The whole cycle typically completes in 4–12 hours; rush work compresses it without skipping the stitch-out, because skipping the test is how bad files reach production.
Frequently Asked Questions
How long does embroidery digitizing take?
A standard left-chest logo typically takes 4–12 hours including machine testing. Complex jacket backs can take 24 hours. Rush and same-day options exist for time-critical jobs.
Can any image be digitized?
Almost — but some artwork needs adaptation first. Photographic gradients, hairline details, and text under 4mm must be redrawn or simplified to work in thread. A good digitizer tells you this up front rather than stitching a mess.
What file formats will I receive?
Whatever your machine needs: DST, PES, EXP, JEF, VP3 and more, plus an editable master file. See our embroidery file format guide for the full breakdown.
Why not use auto-digitizing software?
Auto-digitizing applies generic settings with no knowledge of your fabric, size, or design intent. It routinely produces files with wrong densities, missing underlay, and chaotic sequencing. It can be a starting point for hobby work — it is not production-grade. We’ve written about what bad files actually cost.
Conclusion
Digitizing is the invisible craft that decides whether your brand looks sharp or sloppy on fabric. The difference between a $10 auto-digitized file and a professionally built, machine-tested one shows up in every garment you run — in clarity, in production speed, and in how your logo survives a hundred washes. If you’re ready to see the difference on your own machine, send us your artwork for a free quote, or explore recent projects in our portfolio.
The newsletter
Stay Updated With
Industry Insights.
Get the latest embroidery tips, vector design techniques, production advice, and business resources delivered directly to your inbox. One useful email — no spam, ever.
Unsubscribe anytime. We respect your inbox and your data.